
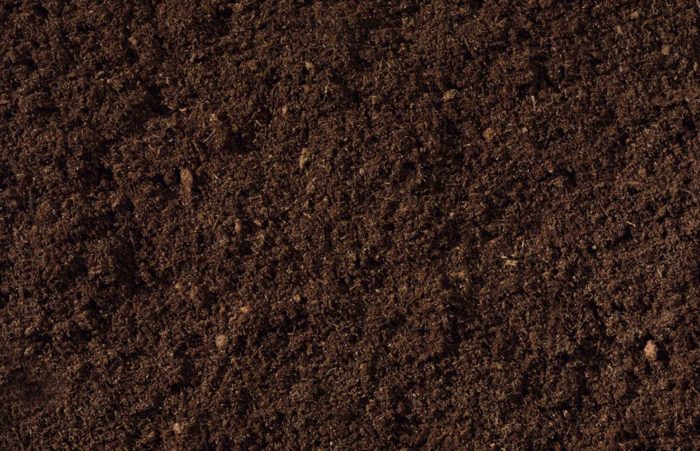
Here at Hillside Stone & Garden we don't provide different grades of soil quality, we believe in only supplying our customers with the best. Blended on site, both of our soils begin with a top quality, nutrient rich, compost which is cooked and aerated making it virtually weed free.
Although the garden and lawn soil are created with different ratios of components, we add both an aged steer manure and washed sand to our soils. Both of these soils are ready for use, no fertilizers necessary. See below for some tips on planting a lush lawn using Hillsides very own Lawn Soil.

TYPES OF SOIL WE CARRY
GARDEN SOIL
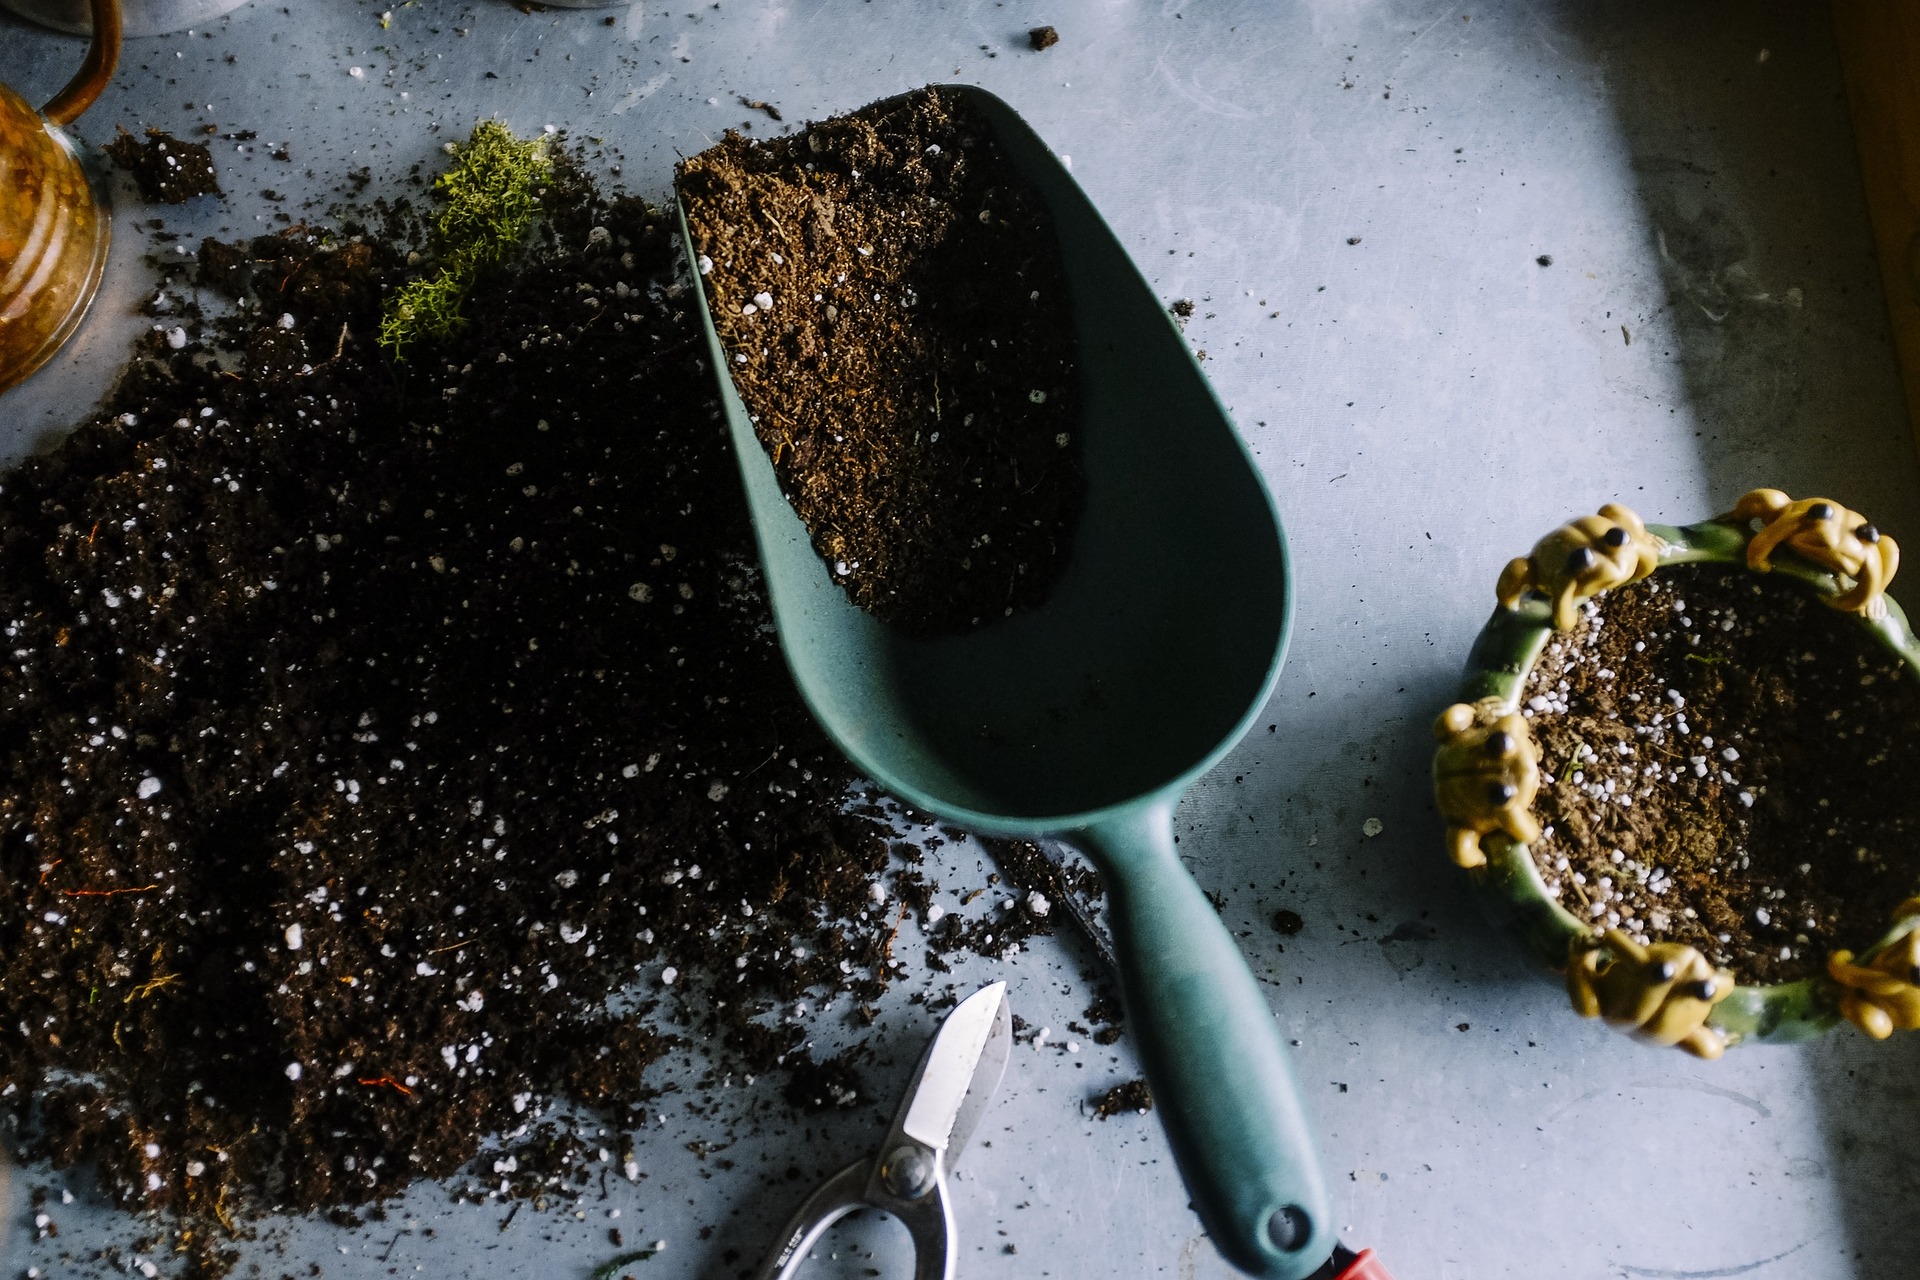
Garden Soil is blended on site with composted steer manure, yard and garden compost and washed weed free sand. This blend is a “ready to grow” soil, with the composted steer manure component as a fertilizer; this is a slow releasing soil ensuring constant growth. A great all purpose soil and a go to choice for new beds and planters. Bring your ideas to life with this soil and watch them grow!
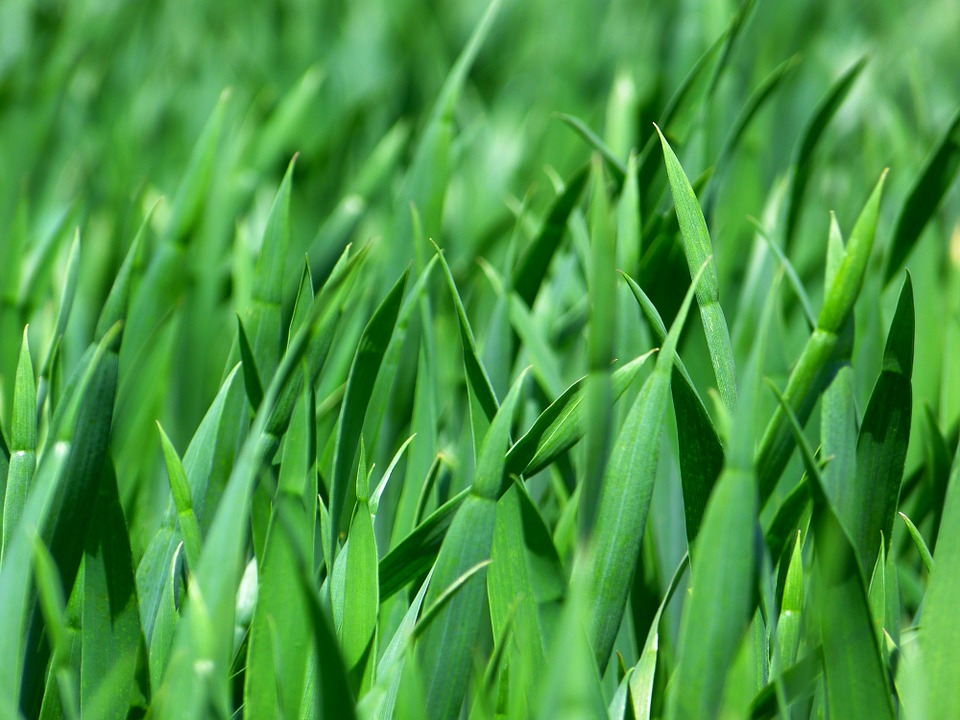
LAWN SOIL
Our Lawn Soil (formerly SuperSoil) is blended on site. It is a combination of yard and garden compost, steer manure and washed weed free sand. Lawn Soil is a high nutrient soil. It is great for rejuvenating and top dressing lawns, and is also ideal for heavy feeding plants such as roses and annuals. This blended soil ensures grass growing at peak capacity. Lawn Soil is best known for producing rich green lawns in a short period of time.
TIPS & TRICKS FOR PLANTING A LAWN
Suggested Topsoil Depths For Lawns
For a new lawn, there are many variables to consider when calculating soil depth. First and foremost is composition and condition of existing soil and sub-soils. To find out what you are starting with, take a shovel and dig a test hole approximately 1 foot deep. Examine the material removed and the top and bottom sides of your test hole. Different sub-soils will determine the amount of topsoil required.
• • •
Hard packed clay Sub-soil
This soil can actually be a good thing, unless you have to remove it for elevation. Clay can be used as a moisture barrier, helping to reduce the amount of water needed to maintain soil moisture. Clay sub-soil can also be amended to create topsoil. This is done be tilling in organic matter such as compost. Most topsoil contains clay particles and helps retain not only moisture but food molecules by increasing cation exchange capacity (C.E.C.) The higher the clay sub-soil content, the less topsoil required for most shallow root grasses.
Sandy (silty) or Loam Sub-soils
This soil can be a lawn lover’s dream come true. Normally, loamy soil is exactly what you need for lawns; it creates adequate drainage with only nutritional needs having to be addressed. Soil testing can be done if desired, yet normally adding a higher nitrogen compost or fertilizer will give optimal growth results in most common grasses.
Sandy/Rocky/Gravel Sub-soil
This soil can be the good, the bad, and the ugly. Good if you have to address grading and elevation issues. Drainage is usually not an issue with this sub-soil, but moisture retention can be a problem. Most common grasses like a well drained soil, yet most are shallow rooting. Hence – the Ugly - on hot summer days, if the top soil is allowed to dry out. Usually, in this situation, more topsoil is required to help with moisture retention.
SOD INSTALLATION TIPS
1
Have your project area ready before the soil arrives. Sod that arrives stacked on a pallet cannot be left to wait. Within day sod can reach temperatures high enough to be fatal to the grass.
2
Make sure the soil is properly prepared. Till soil and remove rocks and debris.
3
Calculate the amount of sod required and try to order accordingly. Some careful measurements and calculations should assist in this step.
4
Keep the prepared soil area wet. Water the area thoroughly, to approximately 3 inches deep, 24 hours before your installation. The soil should still be moist before installation, but the surface should be dry enough to work on. Properly prepared and watered soil aids the newly installed sod to take deeper root. As soon as possible after installation, thoroughly soak the sod so that the soil beneath it is sopping wet.
5
When installing sod, try to avoid gaps between seams or pieces that overlap each other. Weeds tend to sprout in gaps. Sod pieces that are overlapped do not root, and bumps in the lawn result. As soon as the sod has been rolled out, work on it should be restricted to fitting and trimming, then it should be left to establish before using the area. Ideally, the grass should be left to fully establish, and extreme use – such as sports or animal play – should be avoided for up to four weeks.
